READ TO USE CREATIVE ASSETS
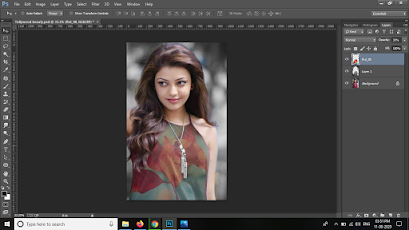
In this tutorial, you will learn how to create a Snapped photo Editing with 2 types of quality in Adobe Photoshop Legs Adobe Photoshop. You can see the Snapped photo Editing below.
Tutorial Details
Program: Adobe Photoshop ccEstimated Completion Time: 7 Minutes
Tutorial Assets
In making this tutorial, I used the following written activities:Photo Editing - We will use an background image in this Photo Editing that we have taught in this tutorial.
Now that we have everything we need, so let’s start!
Step 1: - The image to be edited will Open the image at the Photo Shop.
Step 2: - After opening the image, clicking on the Image Menu in the Menu Bar, clicking on the Adjustments go to Hue Saturation, then a Dialog Box opens in front of us, in which Hue has to be -180 and Saturation is -100.
Step 5: - After applying the Eraser Tool (E), adjust the opacity above the Layers of the Image brought on the dress and remove it from the rest of the dress. And then adjust Opacity accordingly.
In this way you can made a beautiful realistic digital oil portrait painting art .
If you want to get Beautiful snapped moody gray effect with quality in your Image, then you can Contact me.


Very Good
ReplyDeleteNice blog post
ReplyDeletePost a Comment