
READ TO USE CREATIVE ASSETS
In this tutorial, you will learn how to create a Beautiful Storytelling Double Exposure Photos Effect with of quality in Adobe Photoshop . You can see the Beautiful Storytelling Double Exposure Photos effect below.

Tutorial Details
Program: Adobe Photoshop ccEstimated Completion Time: 5 Minutes
Tutorial Assets
In making this tutorial, I used the following written activities:Photo Editing - We will use an background image in this Photo Editing that we have taught in this tutorial.
Now that we have everything we need, so let’s start!
Step 1: - The image to be edited will Open the image at the Photo Shop.

Step 2: - After opening the Image, click on Crop Tool (C) and crop the Image.

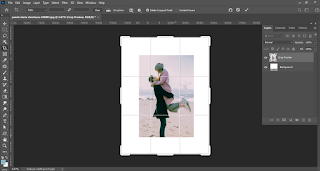

Step 3 :- After that we have to shrink the image with the help of Ctrl + T.
Step 4 :- After that we have to set the extra Background with the help of Clone Stamp tool (S). For this, to take the Background color of any place, press on the Image with alt from the Keyboard. And to make the Background in the empty space.


Step 5: - After this, we will duplicate the Image using Ctrl + J.


Step 6: - After that we have to increase it according to our needs with the help of Ctrl + T. And the Background has to be adjusted.


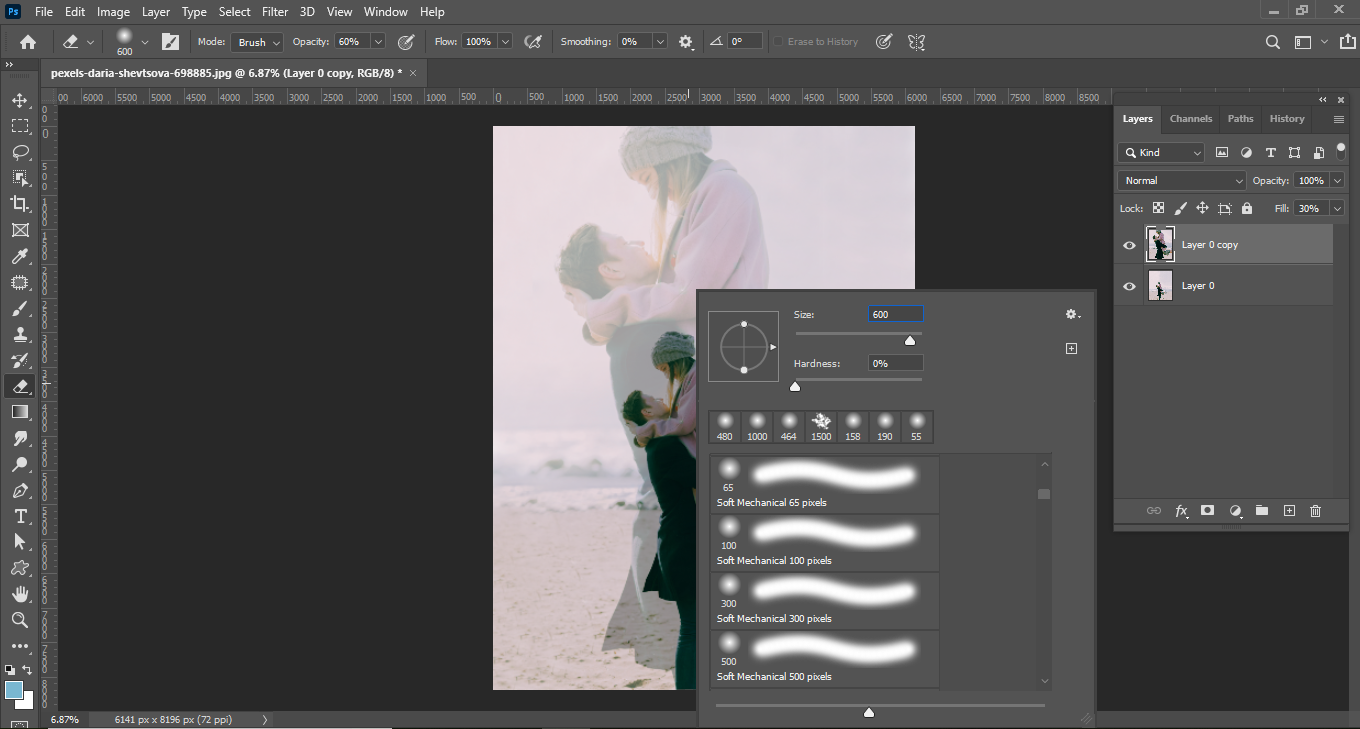
Step 7 :- After this we have to go to the Layer Menu and reduce the Fill to 30%. You can do it more or less according to your needs.


Step 8 :- After that we have to clean the Image of the second layer with the help of Eraser Tool (E). So that it can reach an emerging condition.


In this way you can made a Beautiful Storytelling Double Exposure Photos In Adobe Photoshop.
Beautiful Storytelling Double Exposure Photos In Adobe Photoshop

If you want to get Beautiful Storytelling Double Exposure Photos In Adobe Photoshop in your Image, then you can Contact me.
Very Nice
ReplyDeleteKeep it up, great job
ReplyDeletePost a Comment