READ TO USE CREATIVE ASSETS
In this tutorial, you will learn how to create a Beautiful Chalk Pixels Effect with 2 types of quality in Adobe Photoshop Legs Adobe Photoshop. You can see the Chalk Pixels image effect below.
Tutorial Details
Program: Adobe Photoshop ccEstimated Completion Time: 3 Minutes
Tutorial Assets
In making this tutorial, I used the following written activities:Photo Editing - We will use an background image in this Photo Editing that we have taught in this tutorial.
Now that we have everything we need, so let’s start!
Step 1: - The image to be edited will Open the image at the Photo Shop.
First Step
Step 3 : - After this, take the Gray Color from the background color.
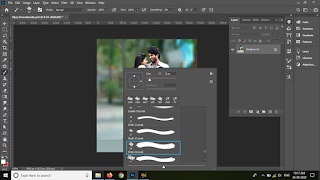
Step 4 : - After this, take a new Layer (Push Ctrl + Shift + N from the keyboard) and then put Chalk Pixels effect on the Image.
Second Step
In this way you can made a beautiful Convert Photo Chalk Pixels Effect .
If you want to get Beautiful Convert Photo Chalk Pixels Effect effect with quality in your Image, then you can Contact me.


Very nice effect
ردحذفإرسال تعليق