
READ TO USE CREATIVE ASSETS
This tutorial, you will learn how Adobe Photoshop Legs make a Beautiful photo editing and sun Editing. You can view the Beautiful photo editing and sun effect below.

Tutorial Details
Program: Adobe Photoshop CS5 (64 Bit)Estimated Completion Time: 20 Minutes
Tutorial Assets
In making this tutorial, I used the following written activities:Photo Editing - We will use an background image in this Photo Editing that we have taught in this tutorial.
Now that we have everything we need, so let’s start!
Step 1: - The image to be edited will Open the image at the Photo Shop.

Step 2: - After opening the layer of the Image, using the Pan Tool (P), make a selection with the Pan Tool (P) to cut the Image, while making the selection on the Image, with the Pan Tool (P) to cut the line below the selection alt After pressing the Pan Tool (P), click on the point that the line is cut and such a selection is easily made, then after that, we create a selection on the Image.

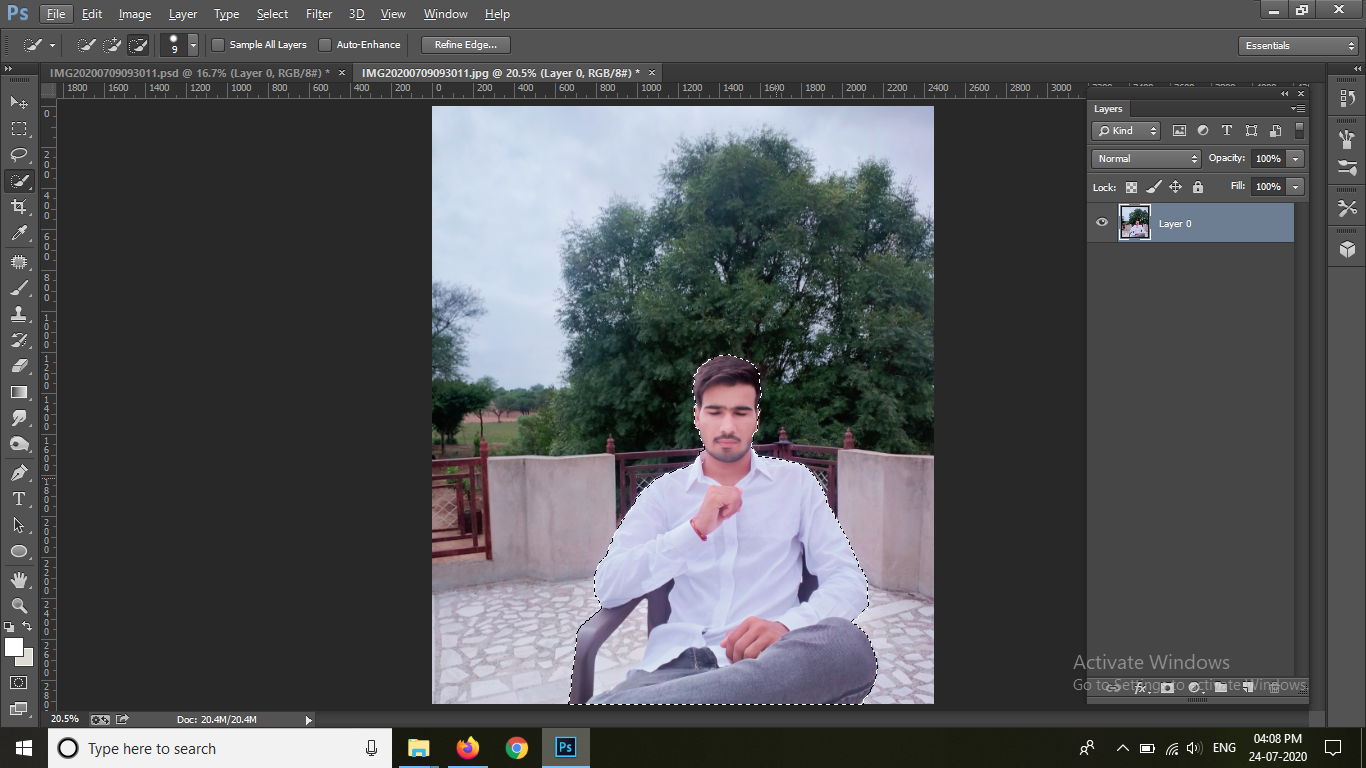
Step 3: - After making the selection, using Ctrl + Enter, then using Ctrl + Shift + I, push the Delete Button from the Keyboard and remove the Background of the Image. Right Click in it and click on Feather and give 1.5 Feather.


Step 4: - After that click on the Smudge Tool and right click on the Image, to clear the Image in the Dialog Box, take the tool from the Smudge Tool and change the size of the tool, then zoom the Image cleanly. You have to do it and you have to keep the time Strength above 25% while cleaning the hair and the Strength should be maintained at 25% while cleansing the face. And you can also change the tool from the Smudge Tool while cleaning the face. In this way, you have to clean the entire Image and show the clarity in it.


Step 5: - After this, to darken the Color of hair, push Ctrl + M from the Keyboard, a Dialog box named Curves will open in front of you, so we can increase the brightness in the Image and in this way we can create an Effective image. Let's make. And using the Smudge Tool back and fix the hair.


Step 6: - After this, set the Background you want to apply to the Image and then click on the image's layer and reduce the Ctrl T size and set the Image to the Background .by using the Smudge Tool back, we correct the Background Image.


Step 7: - After this, bring a garland PNG Image to put garland around the neck.

Step 8:- After this, for adjusting the garland, cut the hand and shirt with the Pan Tool and then put it above the garland Layer.


Step 9:- After this, to apply tilak on the head, bring the PNG Image with tilak and then adjust the Image of the tilak on the head by pushing Ctrl+T from the Keyboard.


Step 10: - After this, click on Lens Flare in the Render in the Filter menu in the Menu Bar to open the Sun Effect on the background, a Dialog Box will open in front of you, in which you have the contract and the size you want to apply, you can apply the Sun Effect.


Step 11:- After cleaning the Image, to see the brightness in the Image, click on Create new fill or adjustment layer below the Layer option and click on Hue/Saturation. After clicking, a Dialog Box will open in front of us. You have to change Hue Saturation according to your Image. Which will shine in your Image.


In this way you can made a beautiful photo editing and sun effects .
Beautiful photo editing and sun effects in Adobe Photoshop

If you want to get beautiful photo editing and sun effects in your Image, then you can Contact me.
Very Nice Sun Effect Photo
ReplyDeleteVery nice
ReplyDeletePost a Comment