
READ TO USE CREATIVE ASSETS
This tutorial, you will learn how Adobe Photoshop Legs make a beautiful Photo Editing. You can view the animated image effect below.

Tutorial Details
Program: Adobe Photoshop CS5 (64 Bit)Estimated Completion Time: 12 Minutes
Tutorial Assets
In making this tutorial, I used the following written activities:Photo Editing - We will use an background image in this Photo Editing that we have taught in this tutorial.
Now that we have everything we need, so let’s start!
Step 1: - The image to be edited will Open the image at the Photo Shop.

Step 2: - After opening the image, we will Open the image layer.

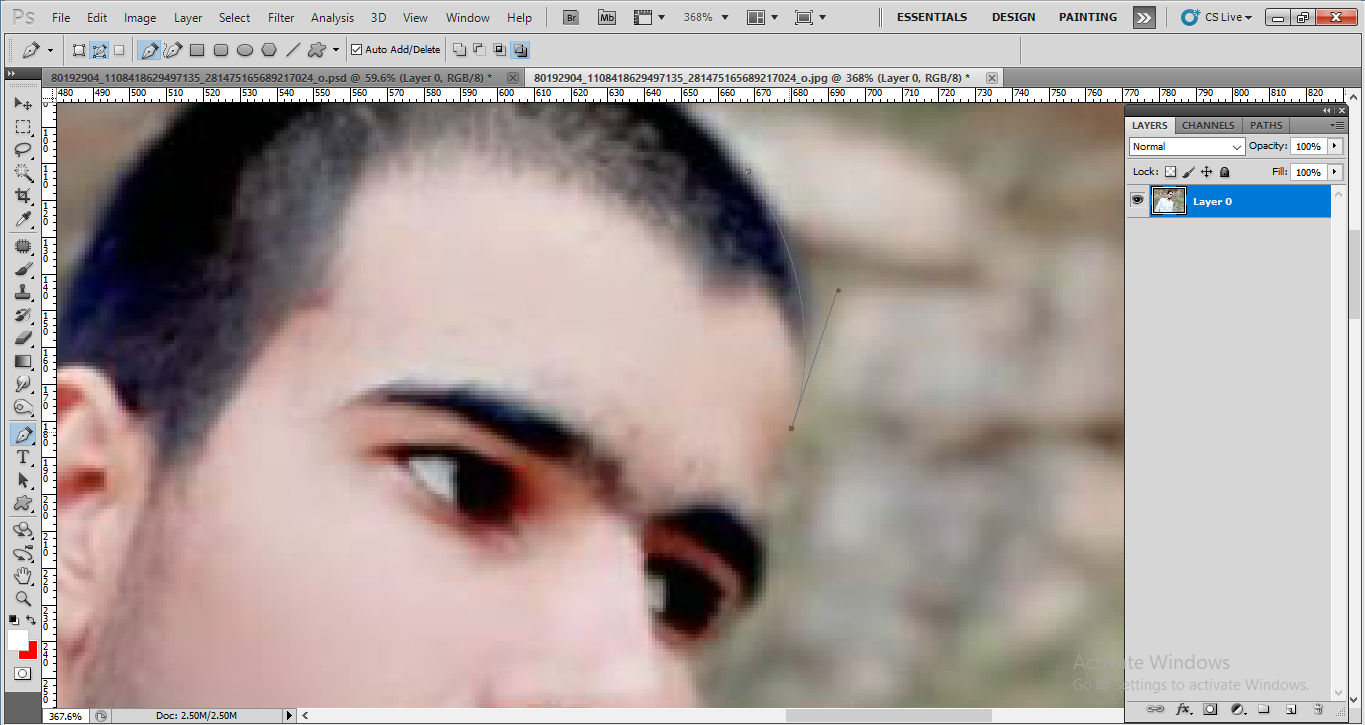
Step 3: - After opening the layer of the Image, using the Pan Tool (P), make a selection with the Pan Tool (P) to cut the Image, while making the selection on the Image, with the Pan Tool (P) to cut the line below the selection alt After pressing the Pan Tool (P), click on the point that the line is cut and such a selection is easily made, then after that, we create a selection on the Image.


Step 4: - After making the selection, using Ctrl + Enter, then using Ctrl + Shift + I, push the Delete Button from the Keyboard and remove the Background of the Image.


Stop 5: - After removing the Background of the Image, using the Smudge Tool, fix the hair.


Step 6: - After using Magic Wand Tool (W), select the Image and Right Click in it and click on Feather and give 1.5 Feather.


Step 7: - After clicking on the Image Menu in the Menu Bar, clicking on the Image Size (Alt+Ctrl+I), the Resolution of the Image is 72 to 200, which increases the quality of the Image.


Step 8: - After this, to increase the quality of the Image, make a selection in the Image using the Lasso tool (L), then click Gaussian Blur in the Blur in the Filter Menu in the Menu bar and make Radius 2 Pixels and then return to the menu By clicking on the Gaussian Blur (Ctrl+F) in the Filter Menu in the bar, the quality of the Image is enlarged, which will not look like torn Image, thus we select the full image and fix it.


Step 9: - After this, set the Background you want to apply to the Image and then click on the image's layer and reduce the Ctrl T size and set the Image to the Background.


Step 10: - After this, bring the Image of Safa also and then set it on such head, to set it, click on the Layer of Safa and click on Ctrl T Transparent tool (tool shown above).


Step 11: - After this, now we have to take the safa coming over the ear, for this we have to select the ear with the help of Pen Tool (P) and use Ctrl+Enter to dub the Layer. To do this, click on the Layer, Ctrl+J, double the Layer, then go to the ear Layer and do Feather aply in it and then fix the ear by clicking on the Smudge tool.


In this way you can made a beautiful Photo Editing .
If you want to get Beautiful Photo Editing & Change Background in your Image, then you can Contact me.
Wow nice photo edditing
ردحذفإرسال تعليق